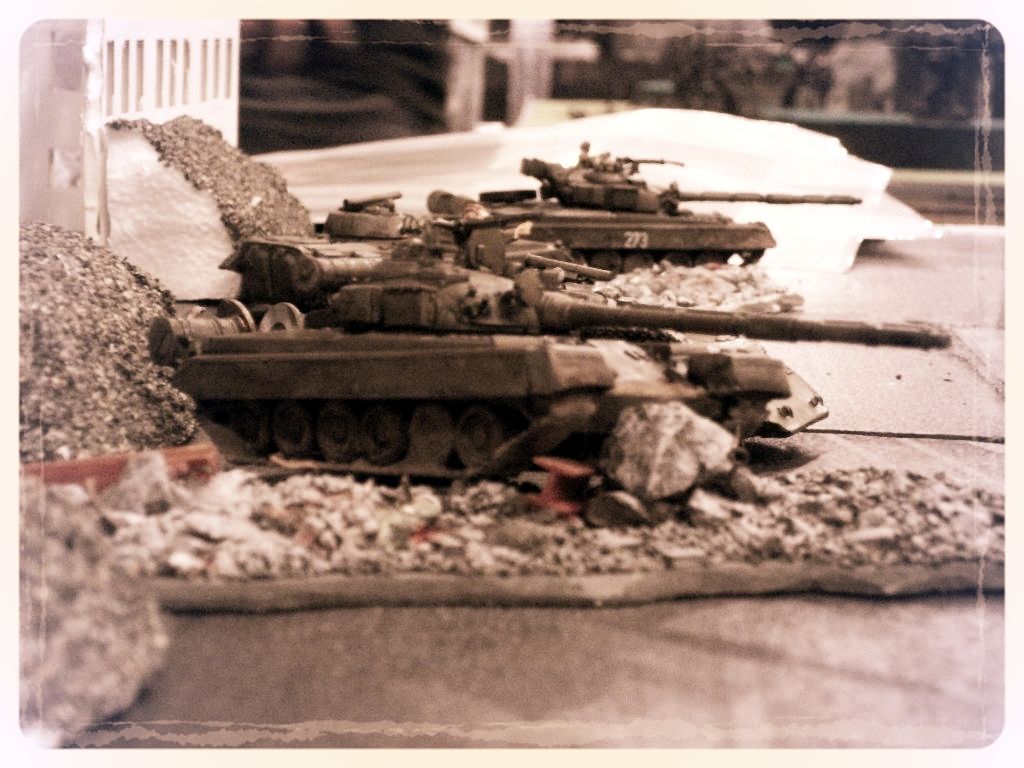

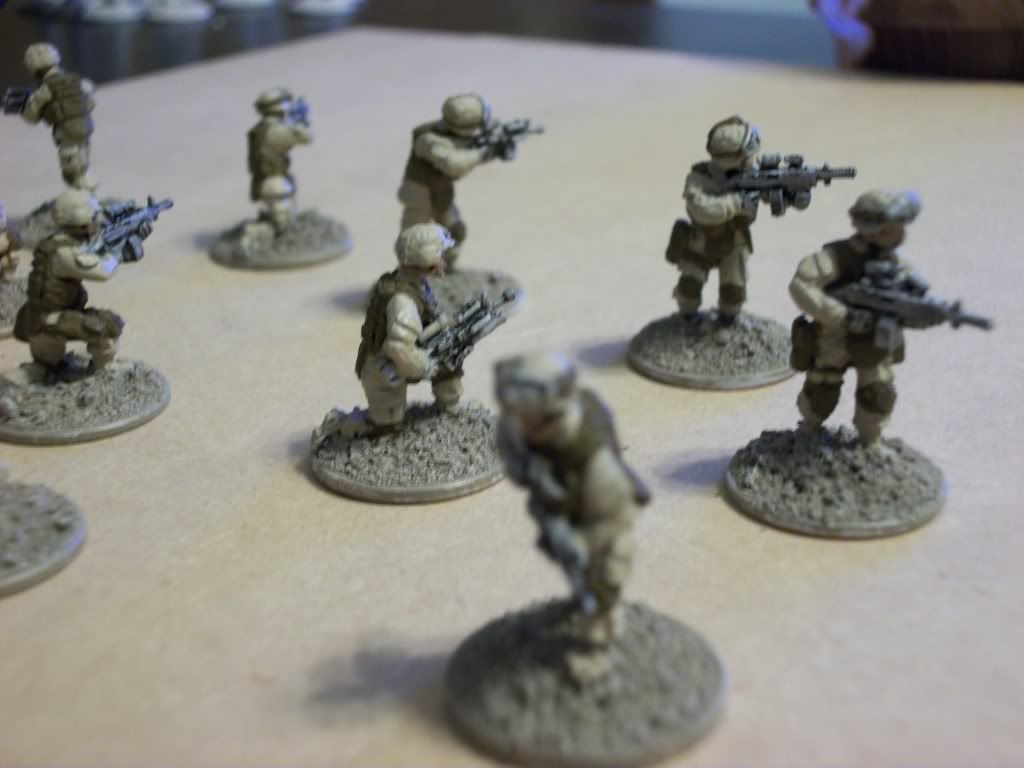
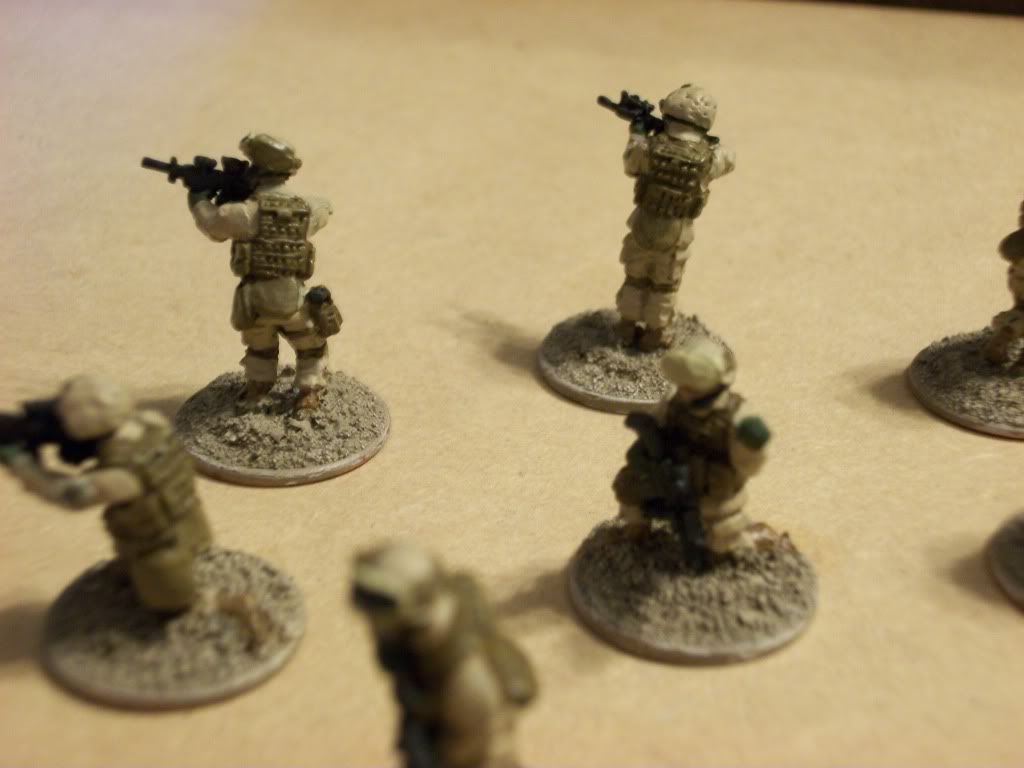
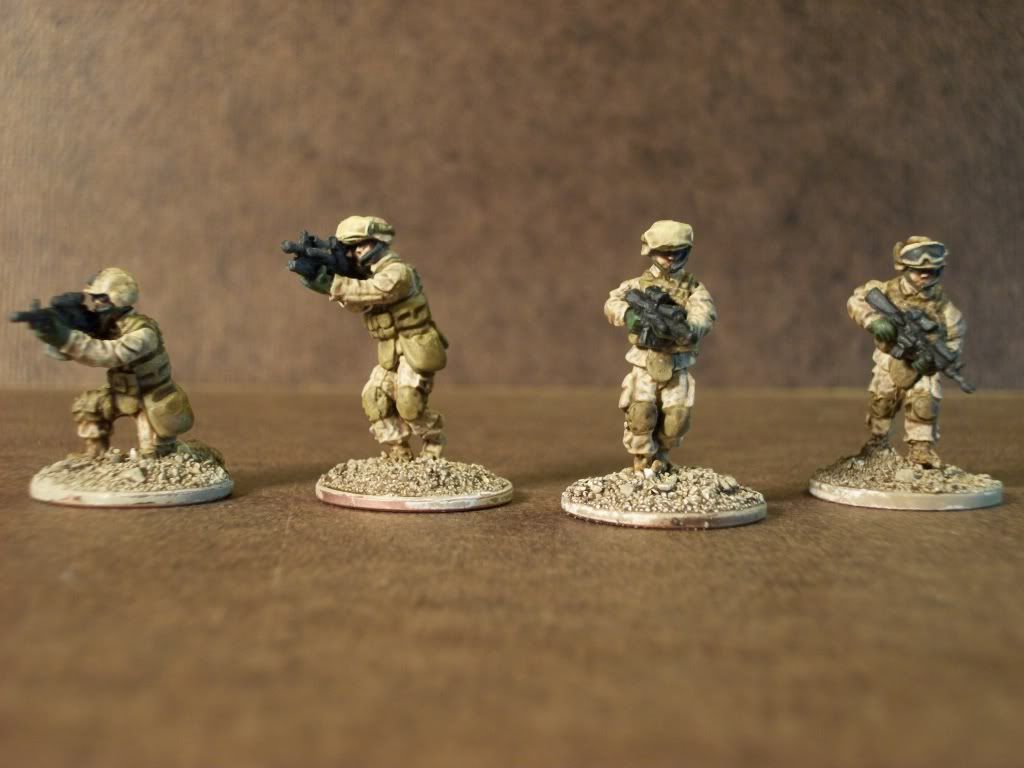
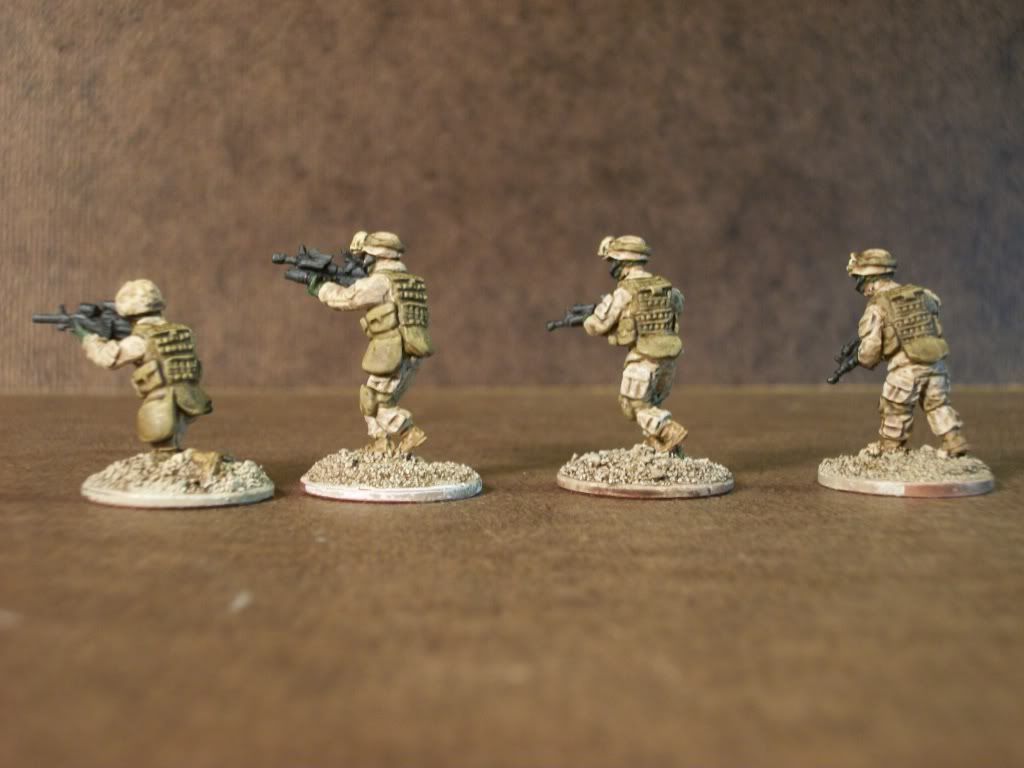
I have seen some people paint the USMC trying their hardest to replicate the Digital scheme, and some people just paint the models tan. I am going for an in between. If you notice the third guy down in the picture seems faded out. This is the look I am replicating. You can tell he has a camo pattern, but you can't quite see the distinct features of it. Seeing as my models are 20mm, I feel this is very appropriate.
This tutorial will teach you how to paint a USMC squad (13 men). After cleaning and mounting the figures on pennies, I have added some sand to their base. I attach my sand with super glue, but you can use white glue if you wish. After the sand has dried to the base, we take the models outside and prime them white (I use privateer press white primer as I like the finish and it goes on thin and smooth). I use white primer to speed up the process and because the models are a decently light color overall.
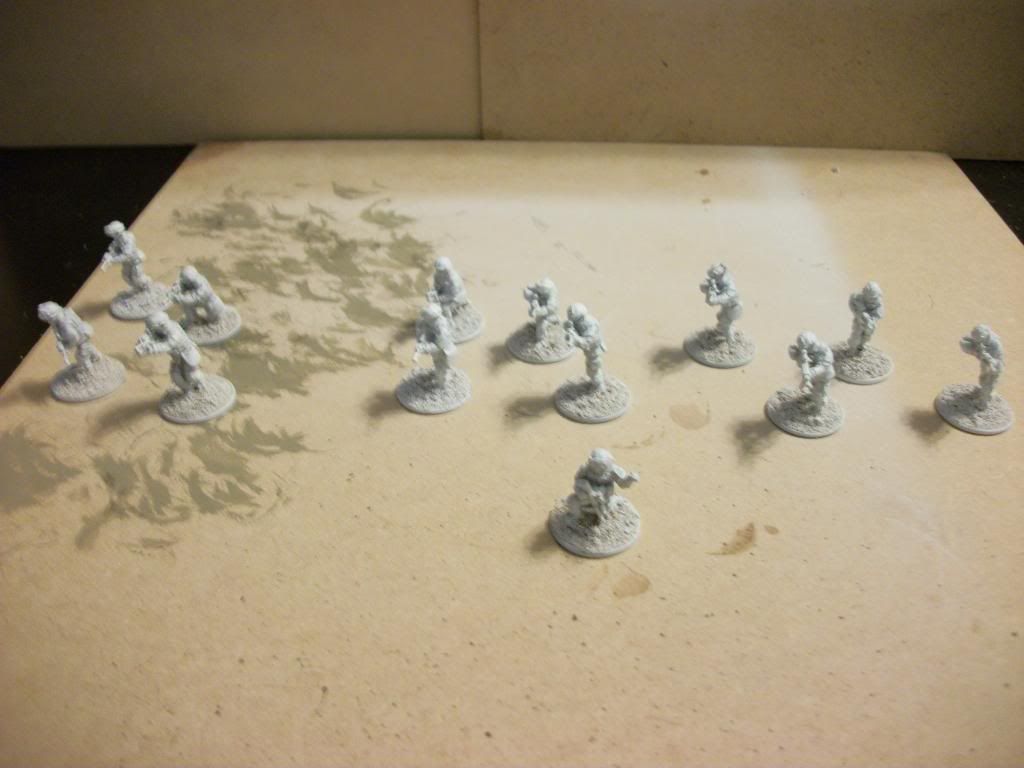
After we prime them, I then give all the models a good wash of GW Badab Black. The main purpose of this wash is to pop the detail on the models, therefore making my life easier as I paint them. The Badab Black also helps give the models some pre-shading.

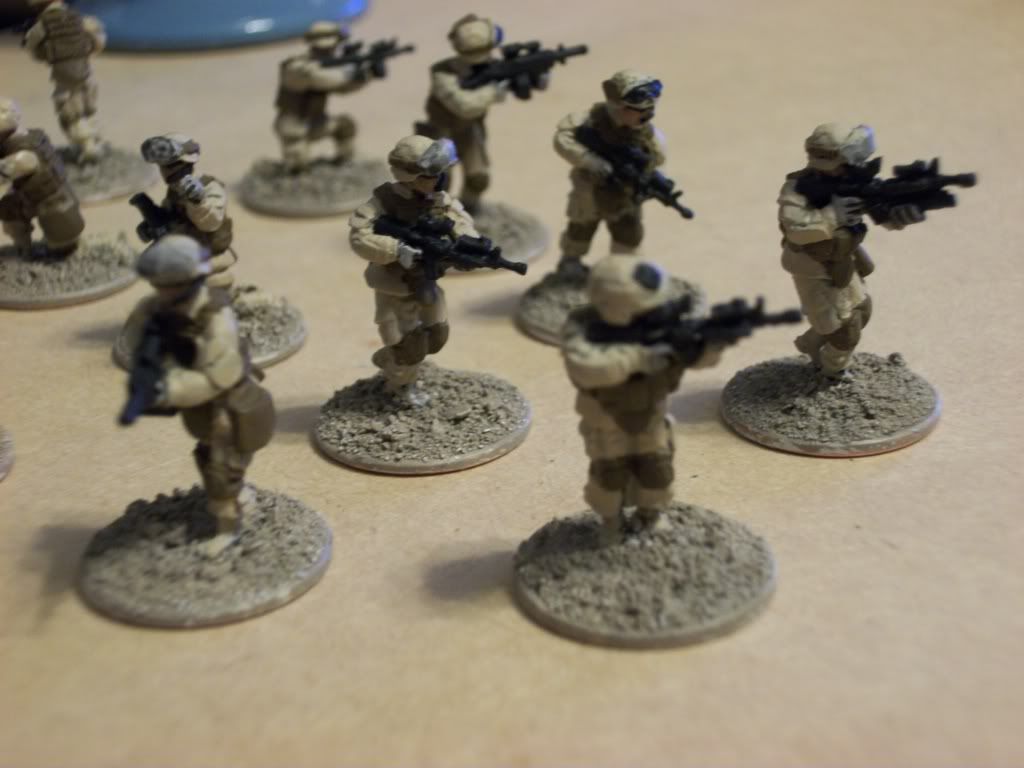
Now I go ahead and paint their faces using Reaper Master Series Tanned Skin. I didn't bother painting their hands as I am going to paint them all wearing gloves.
The next step is probably the most time consuming part of this Tutorial. We are going to paint all of their webbing, body armor, knee pads, bags, goggle straps and the like using Vallejo English Uniform.

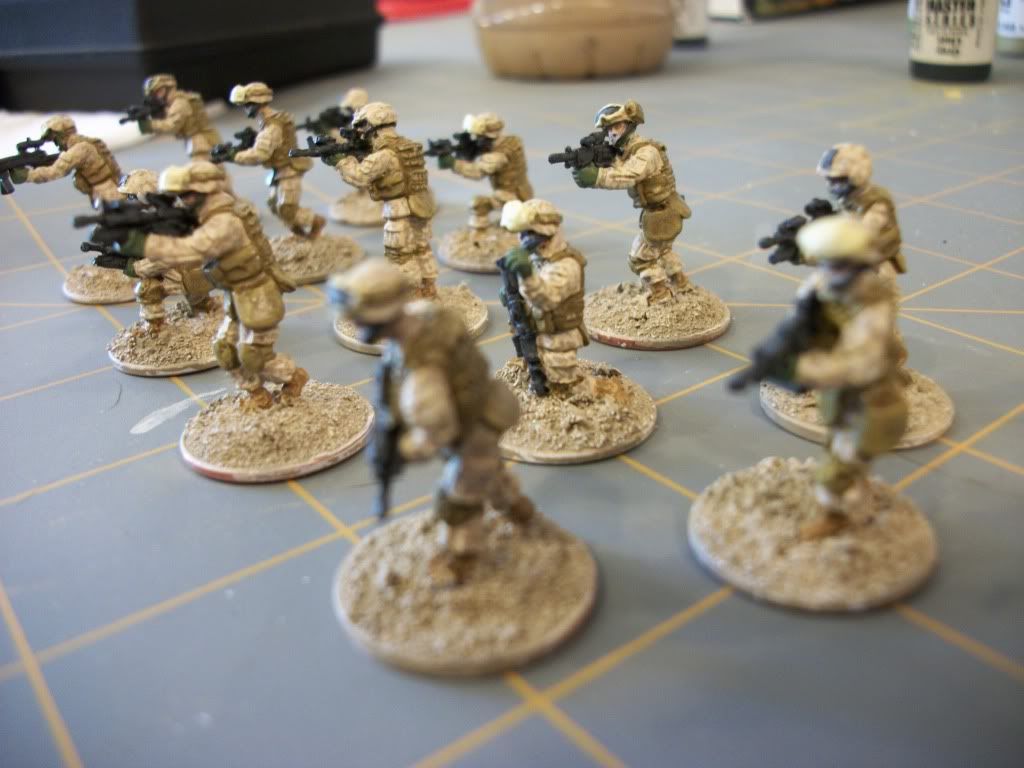
Then I went ahead and painted their guns using Reaper Master Series Grey Liner. This color is almost black. You could use black if you want, or a really really dark grey. I tend to not like blacks very much and find that Grey Liner is perfect for a black. I also paint their night vision connector piece (I have no idea what the actual term is) on their helmets, along with their sunglasses, microphone/headpiece, and actual goggle lenses.
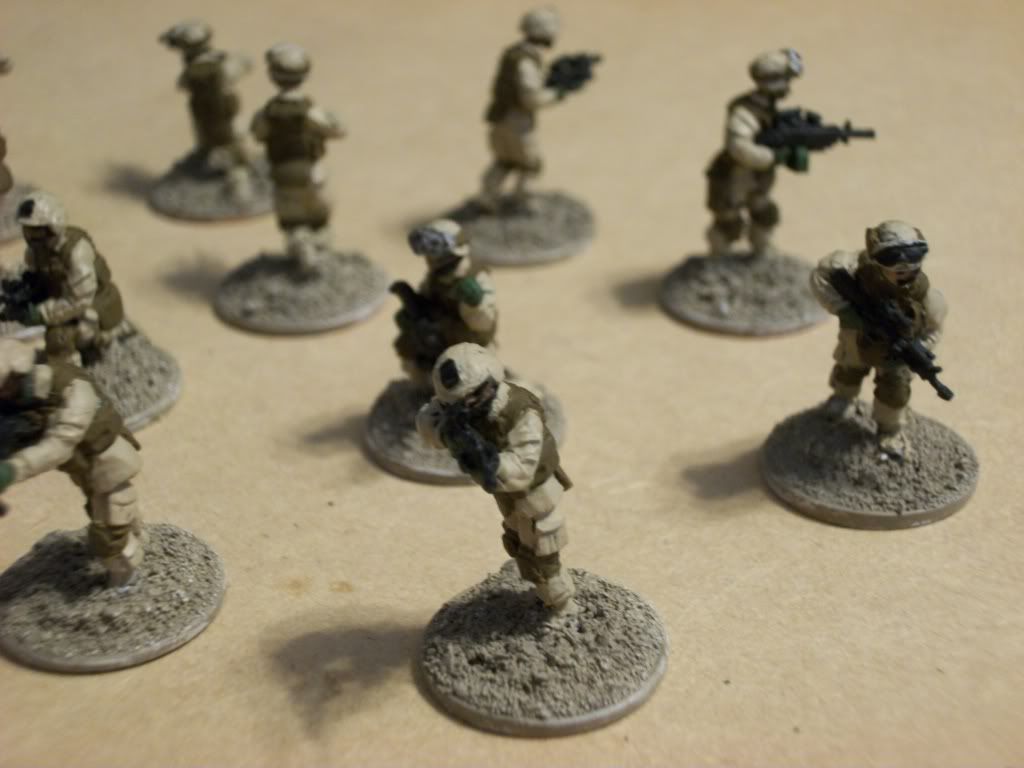
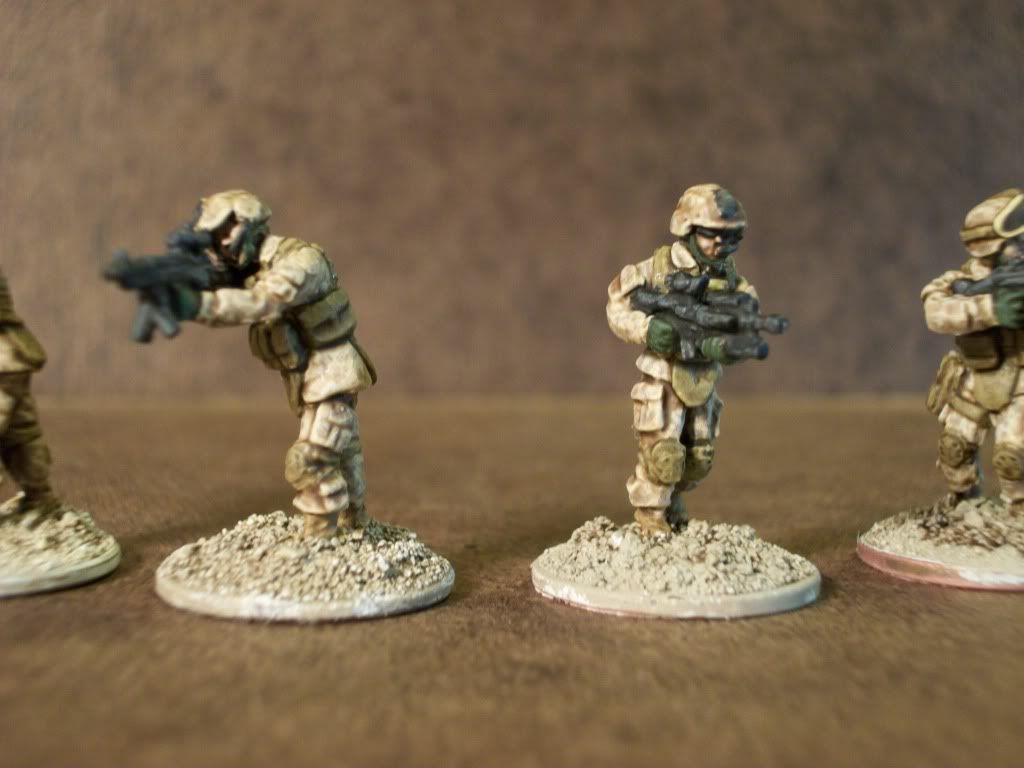
Now I paint their gloves, helmet straps, and SAW magazine boxes using Reaper Master Series Muddy Olive. The helmet straps can prove rather tricky, I recommend a fine detail brush using the edge of the bristles to control your motion so you don't paint their faces green on accident.
The next couple steps are some general highlighting and detailing that can all be grouped into one step.
First, paint their goggle frames and covers using Vallejo Dark Sand.
Very carefully I add small highlights to the raised areas of their face with Reaper Master Series Tanned Highlight.
Then highlight their guns, goggle lenses, sunglasses and microphone pieces using Reaper Master Series Stormy Grey.
Now highlight their gun magazines with Reaper Master Series Cloud Grey
Let's not forget their boots, I couldn't really decide how to paint them, so I mixed Vallejo Flat Earth and Vallejo US Field Drab until I got a color I was satisfied. I would say this was almost a 50/50 mix.
Final part of this step is to highlight everything that we painted English Uniform, with Vallejo US Field Drab. This is a pretty heavy highlight.
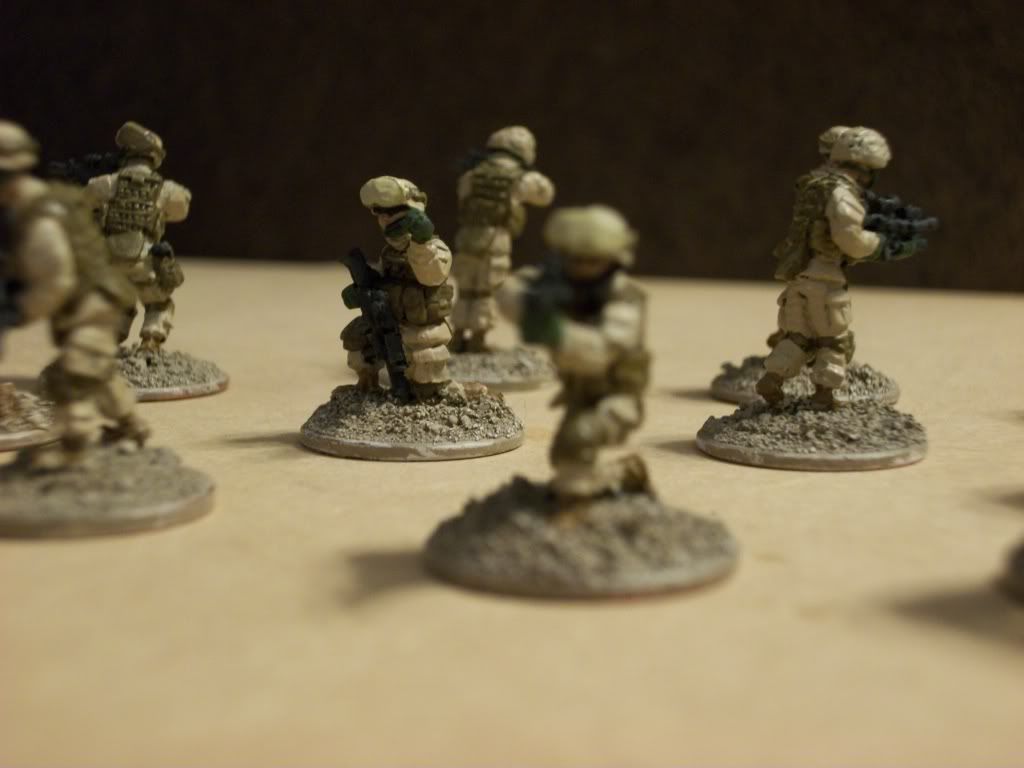
We are nearly there! Now for the secret ingredient, Army Painter Quickshade: Strong Tone, also known as "Dip". I don't actually dip my models, instead I find a really cheap and crappy paint brush, and brush the dip on the model as if I were applying a very heavy coat of wash or ink. One thing that you need to do when dipping models though, is have a little jar of paint thinner or turpentine available. Once you dip your models, you will notice that the dip will tend to pool in certain areas, most likely in between their legs, arms, and any major cracks. Take your paintbrush that you used to dip the models, and soak it in the paint thinner, then let the paint thinner run off the brush as you don't want it to be drippy or soaking wet. Take the brush with the thinner and gently remove any excess build up of the dip. You will probably have to do this for a good 5-10 minutes. The dip will add shading and bring the model together.
Let your models dry for at least 6 hours. The models should not feel tacky. If they are tacky, let them continue drying. The models will look pretty glossy at this point. Once dry, give the models a good dusting of Army Painter Matte Varnish (or your preferred sealant). Whatever you use, it needs to be a Matte or dull coat, otherwise you will have a very shiny Marine, and that is definitely not realistic.
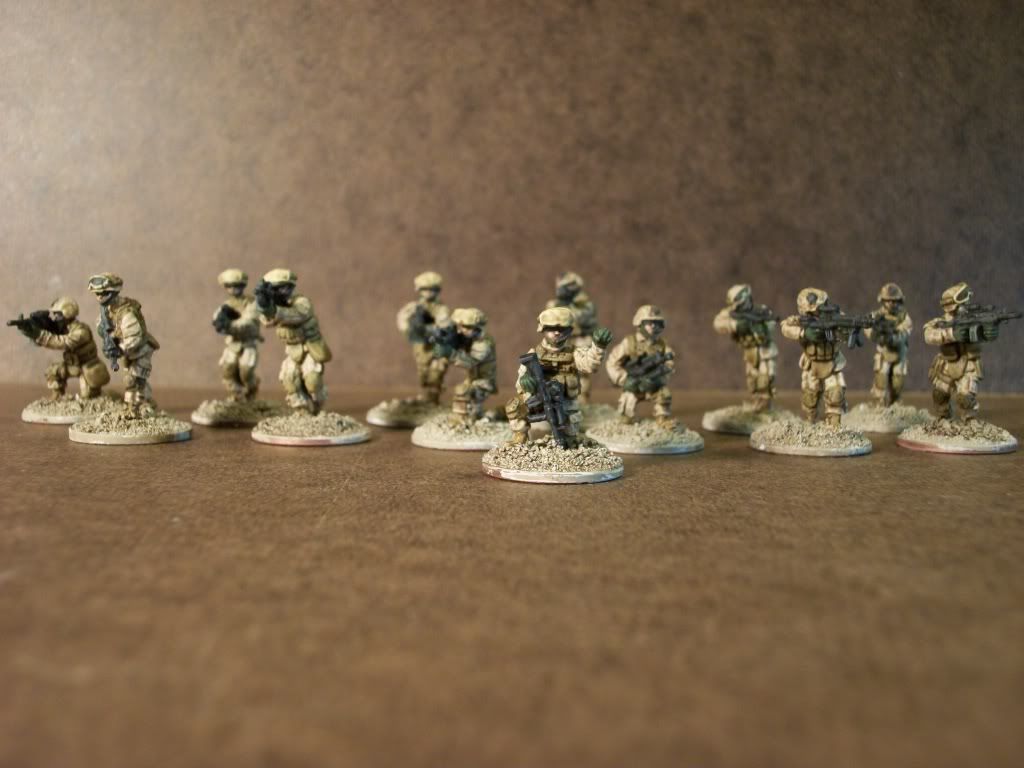
I will probably dry brush the bases and then add some tufts to make them look even more appropriate for my Afghanistan terrain. All in all, this took 1 week total to paint these 13 US Marines using this method of painting. Definitely one of the quicker paint jobs I have accomplished.
Hope you enjoyed this, and hopefully it was helpful!
Really nice work, as usual, Nick.
ReplyDeleteThanks for sharing your secrets. I've got to get some "dip"!
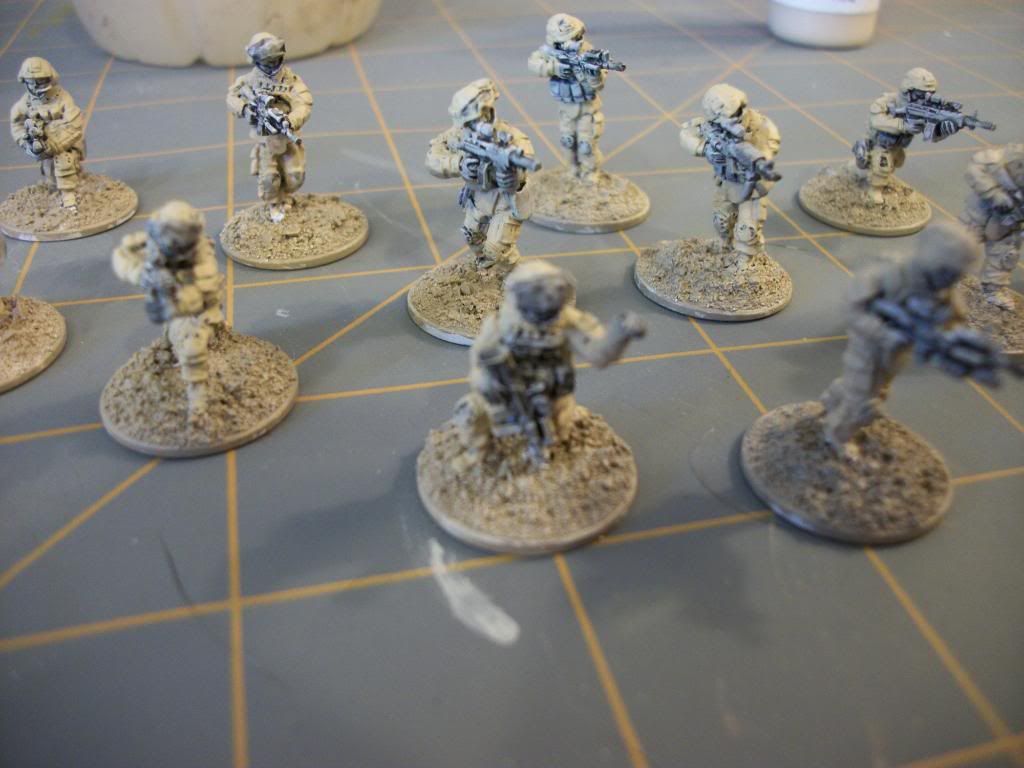
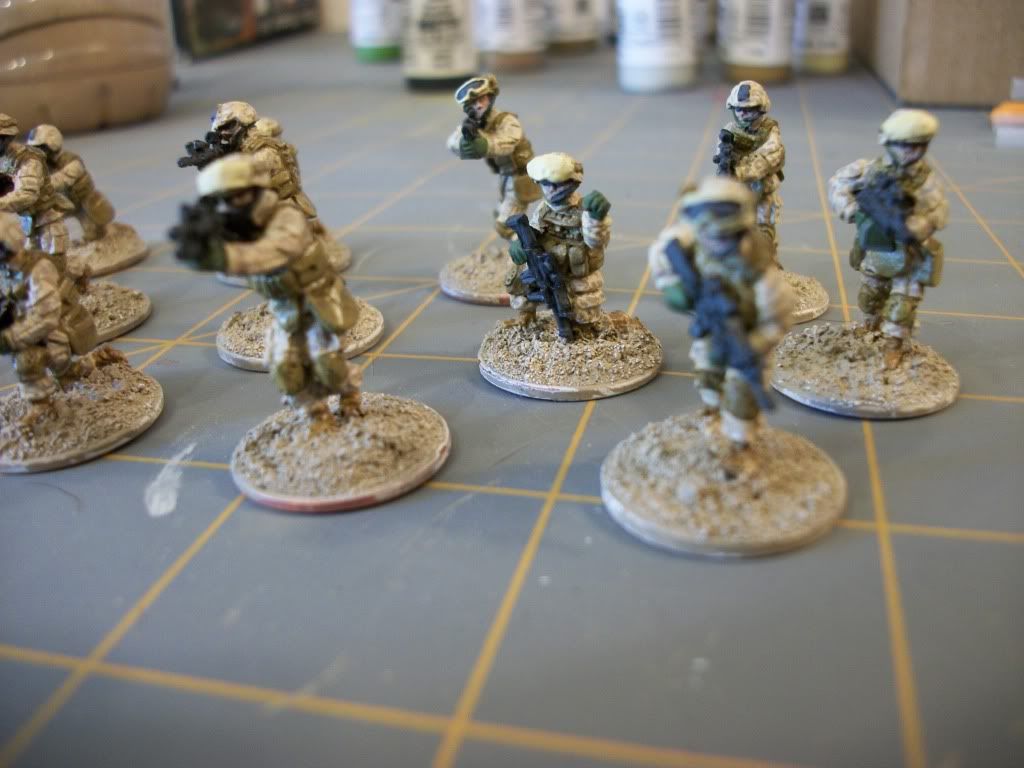
Those look really good. You have pretty accurately captured the washed out look of cammies from more than 30 feet away. The only thing that is not right on those is that the gloves need to be either the same color as the uniforms (issued gloves) or the same color as the web gear (personal gloves). Most times you'd be looking at 50% of each. I never saw anyone in green gloves, they are wool and they burn.
ReplyDeleteWell poop. I guess I wasn't paying attention to glove colors in pictures. My friend told me that is what he wore (in 1993! haha), and someone painted them up with green gloves. I will have to think if I really want to change them, I like how they look with green. :)
DeleteA lot of Marines I knew wore the green nomex fireproof gloves back in the first Gulf War. Now days it's a variant of Camelbak's gloves. Though I hear the USMC is currently looking for a replacement/better version.
ReplyDeleteNice tutorial, Nick. Thanks for posting it.
ReplyDelete-Scott
can you explain how to make the bases please...thanks
ReplyDeletepaint ,, sanding etc,,
They are actually American Pennies. I just put a little bit of sand/rock mix on the penny with super glue and then paint them with Hammerfall Khaki from Privateer Press' paint line. Any dark Khaki to sandy brown will do. If I were to finish the bases I would probably dry brush them with an Iraqi Sand or similar color then add some tufts or grass to give them some depth.
Deleteok thanks for your help im a begginer in this hooby and i like a lot your work .. congratulations.
ReplyDeleteGreat tutorial, I'll get to work!
ReplyDeletehammerfallThe Swedish saviors of Heavy Metal
ReplyDeleteThis is an excellent tutorial for painting USMC miniatures.
ReplyDelete